Choosing the right Miller spot welder can significantly impact your welding projects. Expert welder John Smith emphasizes, "Selecting the best equipment is crucial for quality work." His experience reflects the importance of understanding various models.
Miller spot welders offer different features tailored for specific needs. The welders range from portable units to industrial machines. Each model serves unique applications. Knowing the differences is essential when making a choice.
Your decision should be based on what you'll weld, the materials, and the power settings required. Take your time to reflect on your specific needs. A wrong choice could lead to frustration. It's better to ask questions and gather insights before purchasing a Miller spot welder.
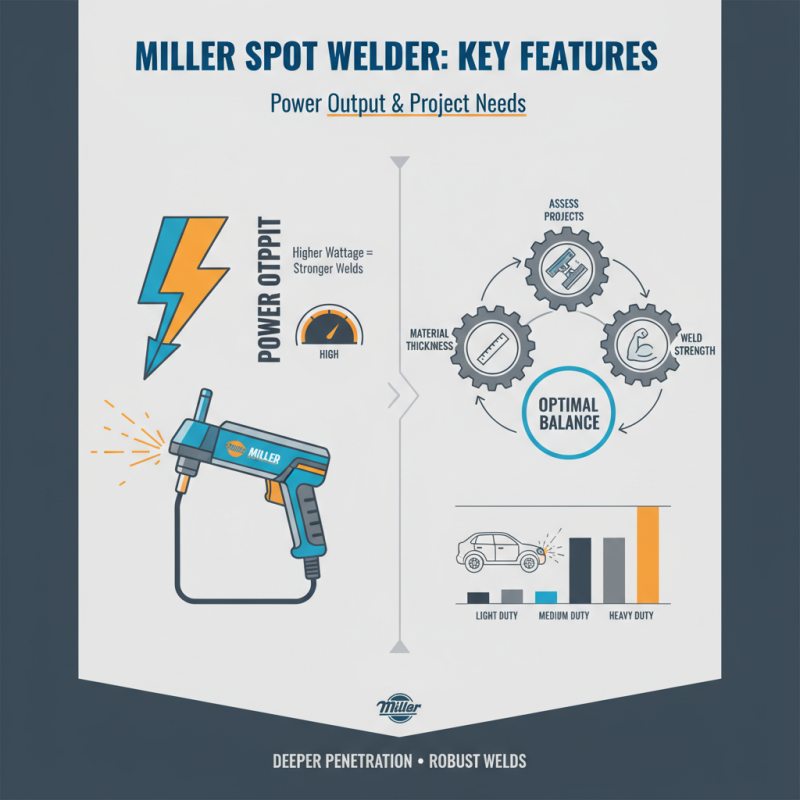
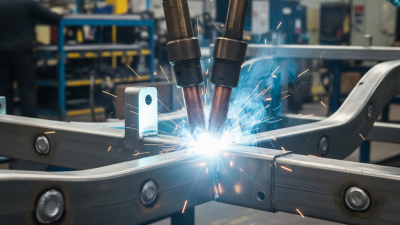
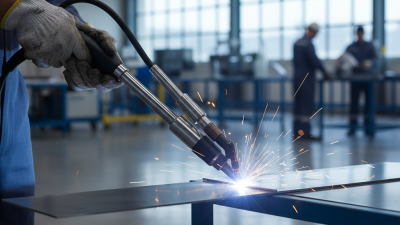
When selecting a Miller spot welder, it’s vital to grasp their fundamentals. Spot welders are essential for various metalworking tasks. They join metal pieces by applying heat and pressure at specific points. This process results in strong, durable bonds. These machines are often used in automotive welding, appliance manufacturing, and even in crafting metal art.
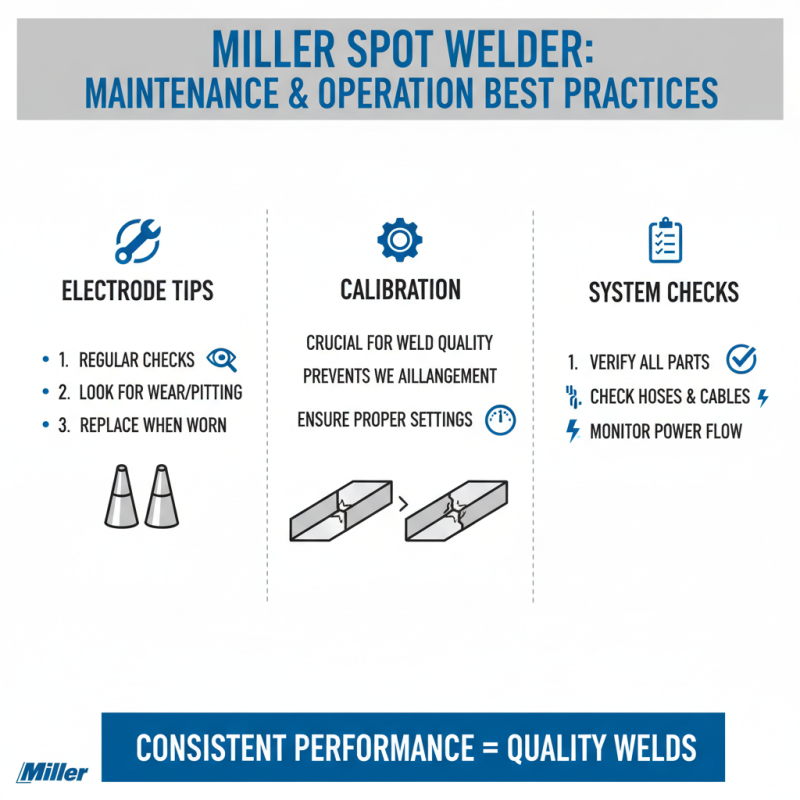
For those new to welding, understanding the technical aspects can be daunting. Spot welders come in different sizes and power levels. It’s crucial to consider the materials you will work with. Thinner metals require lower settings, while thicker metals demand more power. Take time to read manuals and online resources. Knowledge of features like duty cycle and weld capacity can spearhead your projects.
Tips: Start with small projects to build confidence. Experiment with different settings to see their effects. Remember, practice is key to mastering spot welding techniques. Understanding your machine's limits is equally important; pushing beyond can lead to inconsistent results. Always prioritize safety and wear appropriate gear.
Selecting a spot welder requires careful consideration of several key features. These features can greatly impact your welding projects. The power output is crucial. Higher wattage usually translates to better penetration and stronger welds. Assess your projects’ needs to find the right balance.
Tip: Look for adjustable power settings. This flexibility helps accommodate various metals and thicknesses. Different materials require different approaches. If you work with diverse materials, ensure your welder can adapt.
The size and weight of the welder matter as well. A bulky model might be challenging to handle for intricate tasks. A lighter, portable option offers ease, especially for on-site projects.
Tip: Consider the clamp design. It should securely hold your materials without slipping. This feature directly affects the quality of your welds. A stronger grip can lead to cleaner and more precise work.
Lastly, check the duty cycle. A higher duty cycle allows longer use without overheating. This is particularly important for large projects. Ensure the model you choose can handle your workload efficiently.
Tip: Don’t forget to read reviews. Real user experiences can reveal potential flaws or benefits. Understanding the common challenges can help you make a more informed decision.
When selecting a Miller spot welder, understanding the power requirements is crucial. The amperage rating of a welder determines its ability to achieve strong, reliable welds. For instance, higher amperage allows for thicker materials to be joined effectively. Crafting steel components often requires at least 200 amps for optimal performance. If you typically work with thinner materials, a lower amperage may suffice.
Duty cycles also play a significant role in how a welder operates. This term refers to the amount of time a welder can function at a given setting without overheating. A unit with a 60% duty cycle can run for six minutes and then requires four minutes to cool. Choosing a unit with a longer duty cycle enhances your ability to work continuously, making it ideal for larger projects.
In my experience, balancing amperage and duty cycle can be challenging. Sometimes a higher amp rating can reduce the duty cycle. It’s important to consider the materials you will often weld. Evaluating your specific needs is a key step in your selection process. This sometimes brings uncertainties on what specs will serve well over time. A trial and error approach might be necessary to find the right balance.
When comparing spot welders, several factors come into play. Price is often the first consideration. Affordable options may lack necessary features. Higher-priced models could offer advanced technology and better durability. Features like amperage range, duty cycle, and pulse welding capability directly impact performance. Users often seek machines that can handle various materials effectively.
User reviews provide insight into real-world performance. Positive feedback usually centers on the ease of use and the quality of welds. However, some users report difficulties with specific tasks. A welder that excels in thin materials may struggle with thicker pieces. Such nuances can aid in making a more informed decision.
Don’t overlook the importance of warranty and support. Many users find that post-purchase assistance can be a game changer. A reliable support system enhances the experience of using the welder. Weighing these aspects carefully ensures you choose a machine that truly meets your requirements.
| Model | Price ($) | Max Output (kA) | Features | User Rating (out of 5) |
|---|---|---|---|---|
| Model A | 500 | 8 | Lightweight, Digital Display, Adjustable Timer | 4.5 |
| Model B | 750 | 10 | Heavy-duty, Auto Shut-off, Vari-speed | 4.7 |
| Model C | 600 | 9 | Portable, Fast Weld Time, User-friendly Interface | 4.6 |
| Model D | 850 | 12 | High Power, Digital Controls, Energy Efficient | 4.8 |
Maintaining a spot welder requires attention to detail. Regularly check the electrode tips for wear. Replacing them when necessary ensures consistent performance. Calibration is crucial too. Misalignment can lead to ineffective welds. Always verify that parts are functioning as they should.
Proper operation of the welder enhances its lifespan. Clean the work surface before welding. Contaminants can affect weld quality. It’s also essential to adjust the settings based on the materials used. Using the correct amperage prevents damage. Be aware of the heat generated during the process. Excessive heat can warp materials.
Training on best practices is often overlooked. Users should familiarize themselves with the machine’s manual. Understanding each feature can improve efficiency. Occasionally, operators may rush through setups, leading to errors. Taking time at the start ultimately saves time later. Safety should never be compromised, so always wear appropriate gear.
