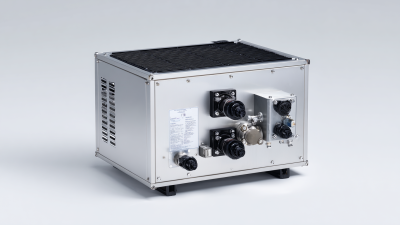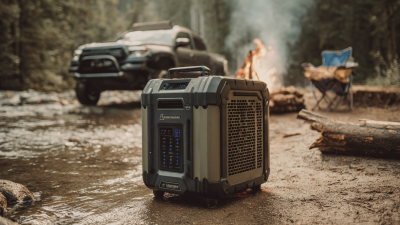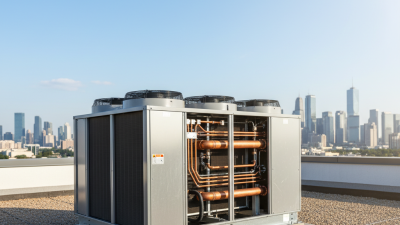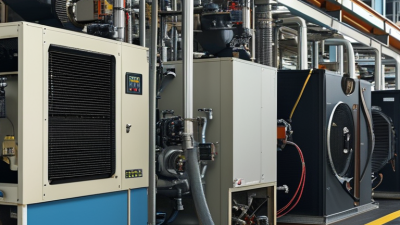
Choosing a portable water chiller is not just a matter of comparing prices or dimensions. The right unit must match the heat your process produces, the required fluid temperature, and the available space. A compact machine may fit beside a workbench, yet struggle when ambient temperatures rise or cooling demand peaks. Small details matter.
For transparency, the following quotation is illustrative and attributed to a fictional industry specialist, not a verified published source. “Choose for your real heat load, not the smallest number on a product label,” says Daniel Mercer, a fictional portable cooling systems engineer. It captures a practical starting point. Before selecting a model, check its cooling capacity at your actual operating temperature, along with flow rate, fluid compatibility, electrical supply, and ventilation needs. A chiller’s advertised capacity may assume conditions unlike those in your workshop.
This guide explains how to compare portable water chiller options with those operating conditions in mind. You’ll learn which specifications deserve close attention, how to assess mobility and maintenance, and what questions to ask a supplier. Look for clear performance data, accessible service points, and instructions that match your setup. If a specification is missing, ask for clarification rather than guessing. That takes time. But choosing too quickly can leave a neatly sized chiller unable to keep equipment stable during a long run.
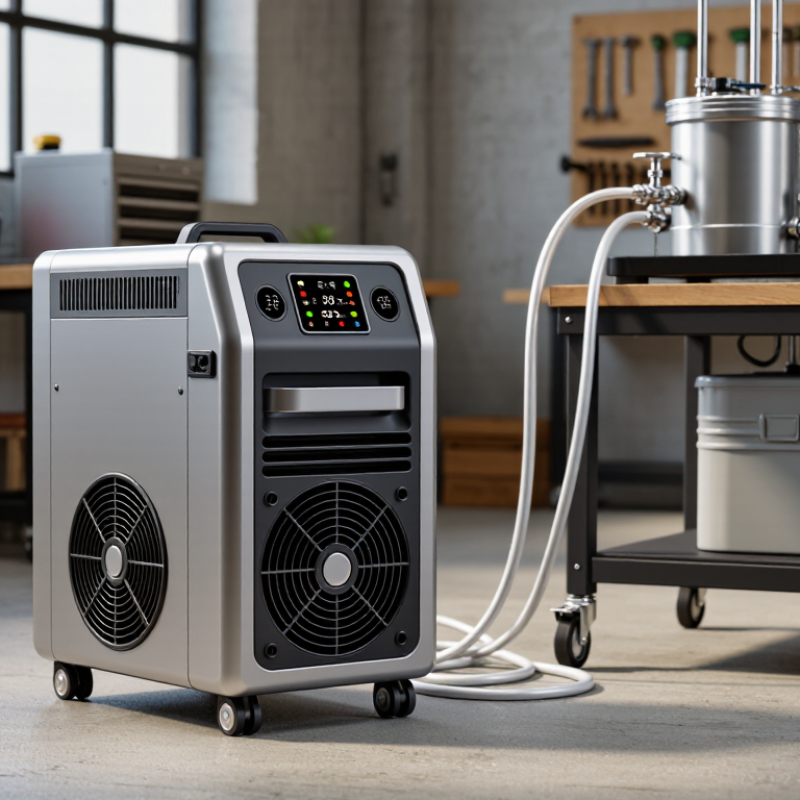
Start with the process, not the chiller. Is it cooling a laser, a test bath, a small production line, or a circulating tank? Record the fluid, flow rate, heat load, operating hours, and ambient conditions. Then identify the required temperature at the equipment inlet, not just at the chiller outlet. A warm hose or a long run can shift the delivered temperature. Measure it.
Set a target temperature and an acceptable range. ASHRAE’s Handbook—HVAC Systems and Equipment describes about 44°F (6.7°C) as a common chilled-water supply design point for building cooling. That is a useful reference, not a universal process setting: equipment may require warmer water, tighter control, or cooling below freezing with a suitable fluid. Check the equipment manual and confirm the operating range with a calibrated probe. Real systems are rarely that tidy.
Flow and temperature rise help estimate the load. NIST reference data puts liquid water’s specific heat near 4.18 kJ/kg·K at room temperature. At roughly 1 L/min, each 1°C rise represents about 70 W of heat. This estimate assumes water and steady flow; it is not a substitute for measuring the actual load. Note the highest expected heat input, too. A chiller selected for an average condition may struggle during startup or a hot afternoon.
Choosing a portable water chiller starts with the heat your process adds, not the size of the tank. Record the fluid flow rate and the temperature rise across the equipment during a typical production run. For water, estimate cooling load in kilowatts with: 4.18 × flow in litres per second × temperature difference in °C. For example, 0.3 L/s warmed by 8°C creates about 10 kW of heat. Measure it twice.
Use the actual fluid properties if the loop contains glycol or another coolant; its heat capacity may differ significantly from water. Include heat from pumps, motors, and nearby warm equipment when those loads enter the circuit. A short temperature log can reveal peaks that a single reading misses. That matters. A quiet test run may not represent a hot afternoon or a full production shift.
Then compare the calculated load with the chiller’s capacity at your required leaving-fluid temperature and expected ambient temperature. Published capacity can fall under those conditions. Add a sensible allowance for load variation, but avoid oversizing heavily, since short cycling can reduce control stability. I would recheck the estimate after installation: real pipe losses and changing process cycles often expose assumptions that looked reasonable on paper.
Estimate process heat load from water flow and temperature rise, then allow a 20% sizing margin. These examples use the approximate heat capacity of water; use your fluid’s properties for glycol mixtures or other fluids.
Estimate: heat load (kW) ≈ 0.0698 × flow (L/min) × temperature rise (°C). Recommended capacity shown = estimated heat load × 1.20. Select a chiller rated for your required fluid temperature and operating conditions.
Match Flow Rate, Tank Size, and Temperature Stability
Choose a chiller by matching its rated flow to the equipment’s required flow, rather than relying on cooling capacity alone. Check the specification at your intended operating temperature; published flow can change with pump pressure and water resistance. Long hoses, narrow fittings, and raised equipment can reduce circulation. A simple flow meter can reveal problems that a quick glance at the pump misses. Small details matter.
Tank size affects how quickly water temperature shifts when heat enters the system. A larger reservoir can buffer brief load changes, but it cannot make an undersized chiller remove heat faster. Consider the equipment’s heat output, operating cycle, and the space available for the tank. Temperature stability also depends on sensor placement, control response, and steady circulation. Measure both supply and return temperatures during a full work cycle, not just at startup. I still find brief tests misleading. If the return water keeps climbing, the unit may need more cooling capacity, better flow, or less heat entering the loop. Check the equipment’s stated flow and temperature limits before buying; guessing can be costly.
How to Choose a Portable Water Chiller?
Compare portability, power supply, and installation needs before choosing a portable water chiller. Check its weight when filled, not just the empty-unit figure. A chiller that rolls smoothly across a workshop floor may still be awkward on stairs. Look for sturdy handles, lockable casters, and dimensions that fit through doorways. Small details matter. Also confirm the rated voltage, frequency, and running current match the available outlet. Ask about startup current too; some units need more power briefly when the compressor starts. The International Energy Agency’s The Future of Cooling report (2018) notes that cooling accounts for about 10% of global electricity use. That figure covers cooling broadly, not portable chillers specifically, but it underlines why operating efficiency deserves attention.
Installation is not always “plug and play.” Check required airflow clearance, hose connections, drainage, and whether the unit needs a dedicated circuit. In a tight room, warm exhaust air can reduce cooling performance. Measure the route for hoses and cables before delivery. One detail is easy to overlook: a short drain hose may dictate where the chiller can sit.
Tips: Photograph the installation area and note outlet ratings, doorway widths, and hose distances before comparing models. Confirm these details with the supplier; assumptions can be costly.
Compare these common portable-chiller formats against your cooling load, site power, and intended location. Capacity and electrical requirements vary by model; confirm the equipment nameplate and manufacturer specifications before purchase.
| Comparison Factor | Compact Bench or Lab Chiller | Wheeled General-Purpose Chiller | High-Capacity Portable Process Chiller |
|---|---|---|---|
| Typical cooling capacity | About 0.5–3 kW | About 3–15 kW | About 15–30 kW or more |
| Typical portability | Usually a compact, liftable unit; check the listed operating weight before moving. | Typically floor-mounted with casters; designed to roll on a smooth, level surface. | Usually bulky and heavy; casters may help with positioning, but moving may require a pallet jack or forklift. |
| Common power supply | Often single-phase, 115 V or 230 V, depending on the model and market. | Often single-phase 230 V for smaller units; larger capacities may require three-phase power. | Commonly three-phase 208–230 V or 400–480 V, depending on the model and region. |
| Electrical planning | Check voltage, frequency, running current, and plug type. A dedicated circuit may be required. | Verify circuit capacity and plug or disconnect requirements; do not assume a standard wall outlet is sufficient. | Confirm available three-phase service, breaker and wire sizing, and any required electrician-installed disconnect. |
| Installation needs | Place on a stable, level surface with space around air inlets and outlets. Connect the process-fluid lines and fill as specified. | Provide a level floor, adequate ventilation, accessible hose connections, and clearance for maintenance. | Plan for floor loading, lifting and access routes, ventilation or heat rejection, service clearance, and suitable piping. |
| Water and heat management | Many models use an air-cooled condenser; keep vents unobstructed and account for heat released into the room. | Air-cooled versions need room airflow. Water-cooled versions need a suitable condenser-water source and drain or return connection. | Confirm whether the unit is air-cooled or water-cooled and whether the room or facility can handle its heat rejection. |
| Best suited to | Small instruments, benchtop equipment, and applications with modest cooling loads. | Equipment that needs more cooling capacity and may need to be repositioned within a facility. | Higher-load process equipment where a movable, self-contained package is useful and site utilities can support it. |
| Key trade-off | Easy to place, but limited capacity and potentially sensitive to warm or poorly ventilated rooms. | Balances capacity and mobility, but can be too large for narrow routes or small work areas. | Provides greater capacity but demands more floor space, electrical planning, and handling effort. |
| Before selecting | Calculate the heat load and check required coolant temperature, flow rate, and fluid compatibility. | Measure doorways and travel paths; verify capacity at the required operating temperature and ambient conditions. | Confirm the maximum heat load, utility availability, installation access, and the manufacturer’s lifting instructions. |
Selection note: Cooling capacity can change with coolant setpoint, ambient temperature, flow rate, and heat-exchanger conditions. Use the manufacturer’s performance data at your actual operating conditions rather than relying only on a nominal capacity.
Choose a portable water chiller with controls you can read beside a noisy machine, not only on a bright showroom screen. Check that it displays water-in and water-out temperatures, flow status, and clear alarm codes. Small details matter. A high-temperature alarm is useful only if it is audible or visible where staff work. The IEA’s 2018 report, The Future of Cooling, estimated that space cooling uses nearly 10% of global electricity and projected demand could more than triple by 2050. That broad trend is not chiller-specific, but it makes precise setpoints and operating records worth checking.
Maintenance access affects whether routine work actually gets done. Look for an accessible strainer, drain, and filter, plus clear instructions for cleaning and seasonal storage. Ask how often the manual recommends inspection; vague answers deserve a second look. Safety features should include low-flow and freeze protection, high-pressure shutdown, and suitable electrical protection. Confirm the unit’s refrigerant information and service requirements in its documentation. A polished touchscreen can still hide weak alarms, and I may be giving simple controls too much credit. Test the alarms and shutdown response before placing the chiller beside valuable equipment.